- Choose the right car: The first step is to choose the right car for the video. Consider the make and model of the car, as well as its colour and overall appearance. A car with a sleek and aerodynamic design will look better in a fly-by shot but if you are focusing on an SUV / MPV then we can raise the drone height.
2. Prepare the car: Once you have chosen the car, it’s time to prepare it for the shoot. Make sure the car is clean and free of any debris or dirt. You may also want to polish the car to give it a glossy and sleek appearance.
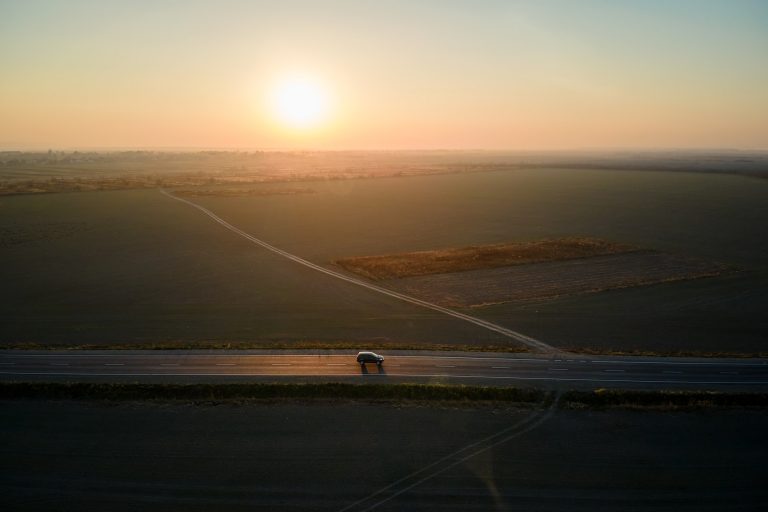
3. Choose the location: The next step is to choose the location for the fly-by shot. Look for a location that has a clear and unobstructed view of the car, as well as plenty of space for the drone to fly. Consider the lighting and background of the location, as well as any potential distractions or obstructions.
4. Set up the location: Once you have chosen the location, it’s time to set it up for the shoot. Make sure the car is positioned in a way that allows the drone to get a good fly-by shot. You may want to use props or other visual elements to add depth and interest to the shot (not required though).
5. When we get there we will test the shot: Before launching the drone, it’s a good idea to test the shot and make any necessary adjustments. Walk through the shot and make sure the camera is positioned in a way that captures the car from the desired angle.
6. Once everything is set up and tested, it’s time for us to launch the drone and capture the fly-by shot. Follow the safety guidelines and fly the drone smoothly and steadily to capture the best possible footage.
If you have any questions about this then let us know.
Yes, we have public liability insurance.